
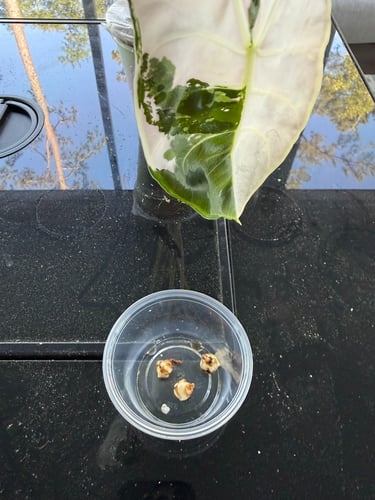
Before I knew anything about alocasia corms, I thought they were just weird little balls attached to my plant's roots.
I was repotting my silver dragon, a $10 find from Walmart and the first alocasia I ever owned, when I noticed them. Small, round, almost like tiny potatoes clinging to the root system. A little research later and I realized I was holding something genuinely exciting: baby plants waiting to happen.
That was the beginning of my corm obsession. And honestly, if you're new to alocasias, corms are one of the best entry points in the hobby. They're affordable, forgiving, and incredibly satisfying to grow. This is everything I wish I'd known before I started.
What Is an Alocasia Corm?
A corm is a small, round storage organ that grows at the base of an alocasia plant. Think of it as a survival mechanism. The plant stores energy in these little structures, and under the right conditions, each one can grow into a new plant.
You'll find them when you repot. They look like tiny brown or tan spheres, anywhere from the size of a pea to a marble, sometimes attached to the roots and sometimes loose in the substrate. If you've never noticed them before, you might have been tossing them out without realizing it. Don't do that.
How to Sprout an Alocasia Corm
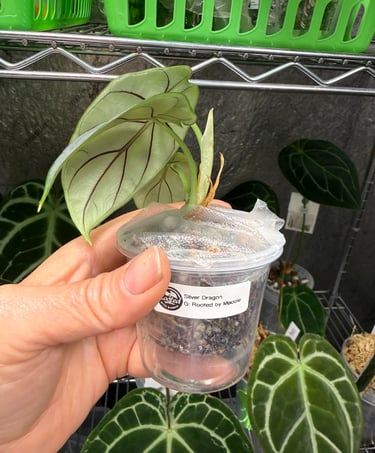
Place your corm in the fluval stratum and perlite mix in a small self-watering cup. Keep it covered, because humidity is everything at this stage. I put mine in a transparent grow box or a tote with a clear lid so moisture stays in.
One thing worth knowing: a corm does not need light until it sprouts. I keep mine under grow lights the whole time for consistency, but if you don't have a grow light setup yet, ambient light is fine until you see the first signs of growth.
Then you wait. It can take weeks, sometimes longer. This is the part where most beginners get impatient. Don't rush it.
Once It Sprouts, The Part Most Beginners Get Wrong
Here's where I made every mistake in the book.
My first batch of corms sprouted beautifully. I was thrilled. I removed the lid to let them breathe and within days every single one of them died.
I did this more than once before I figured out what was happening. The transition from high humidity to open air is too much of a shock for a freshly sprouted corm. They're incredibly fragile at that stage and they need to be weaned off the humidity gradually, not thrown into it all at once.
Here's what I do now.
Once a corm sprouts, the original lid is usually too small to accommodate the new growth. I'll swap it out for a slightly larger cover, a plastic shot glass flipped upside down works well, to give the sprout room without fully exposing it. The goal is to maintain as much humidity as possible while allowing for growth.
I also wrap press n'seal around the base of the container at this stage. I cut a small slot so it fits snugly around the base of the sprout, sealing in humidity at the root level while the plant continues to grow upward. It sounds fiddly but it makes a real difference in keeping that fragile root system stable.
I leave them in the grow box, covered, until they have at least two leaves. Then I'll move them to a spot with more light but still inside a humid environment. I don't move corms into my main Ikea cabinet until they have several leaves and feel genuinely established, usually somewhere around four to six months after sprouting.
I lost so many corms before I slowed down that transition. In my experience, moving them too soon is the number one reason beginners lose sprouts that seemed perfectly healthy.
Potting Up
Once your corm has multiple healthy leaves and a visible root system, it's ready to move into a more permanent home.
I repot into pon in a self-watering pot at this stage. Pon is excellent for alocasias because it drains freely, never compacts, and works perfectly with a self-watering setup. By this point the plant is strong enough to handle the transition.
I don't fertilize until after sprouting, and I wait until the plant is well established before introducing any feeding routine.
Light and Placement
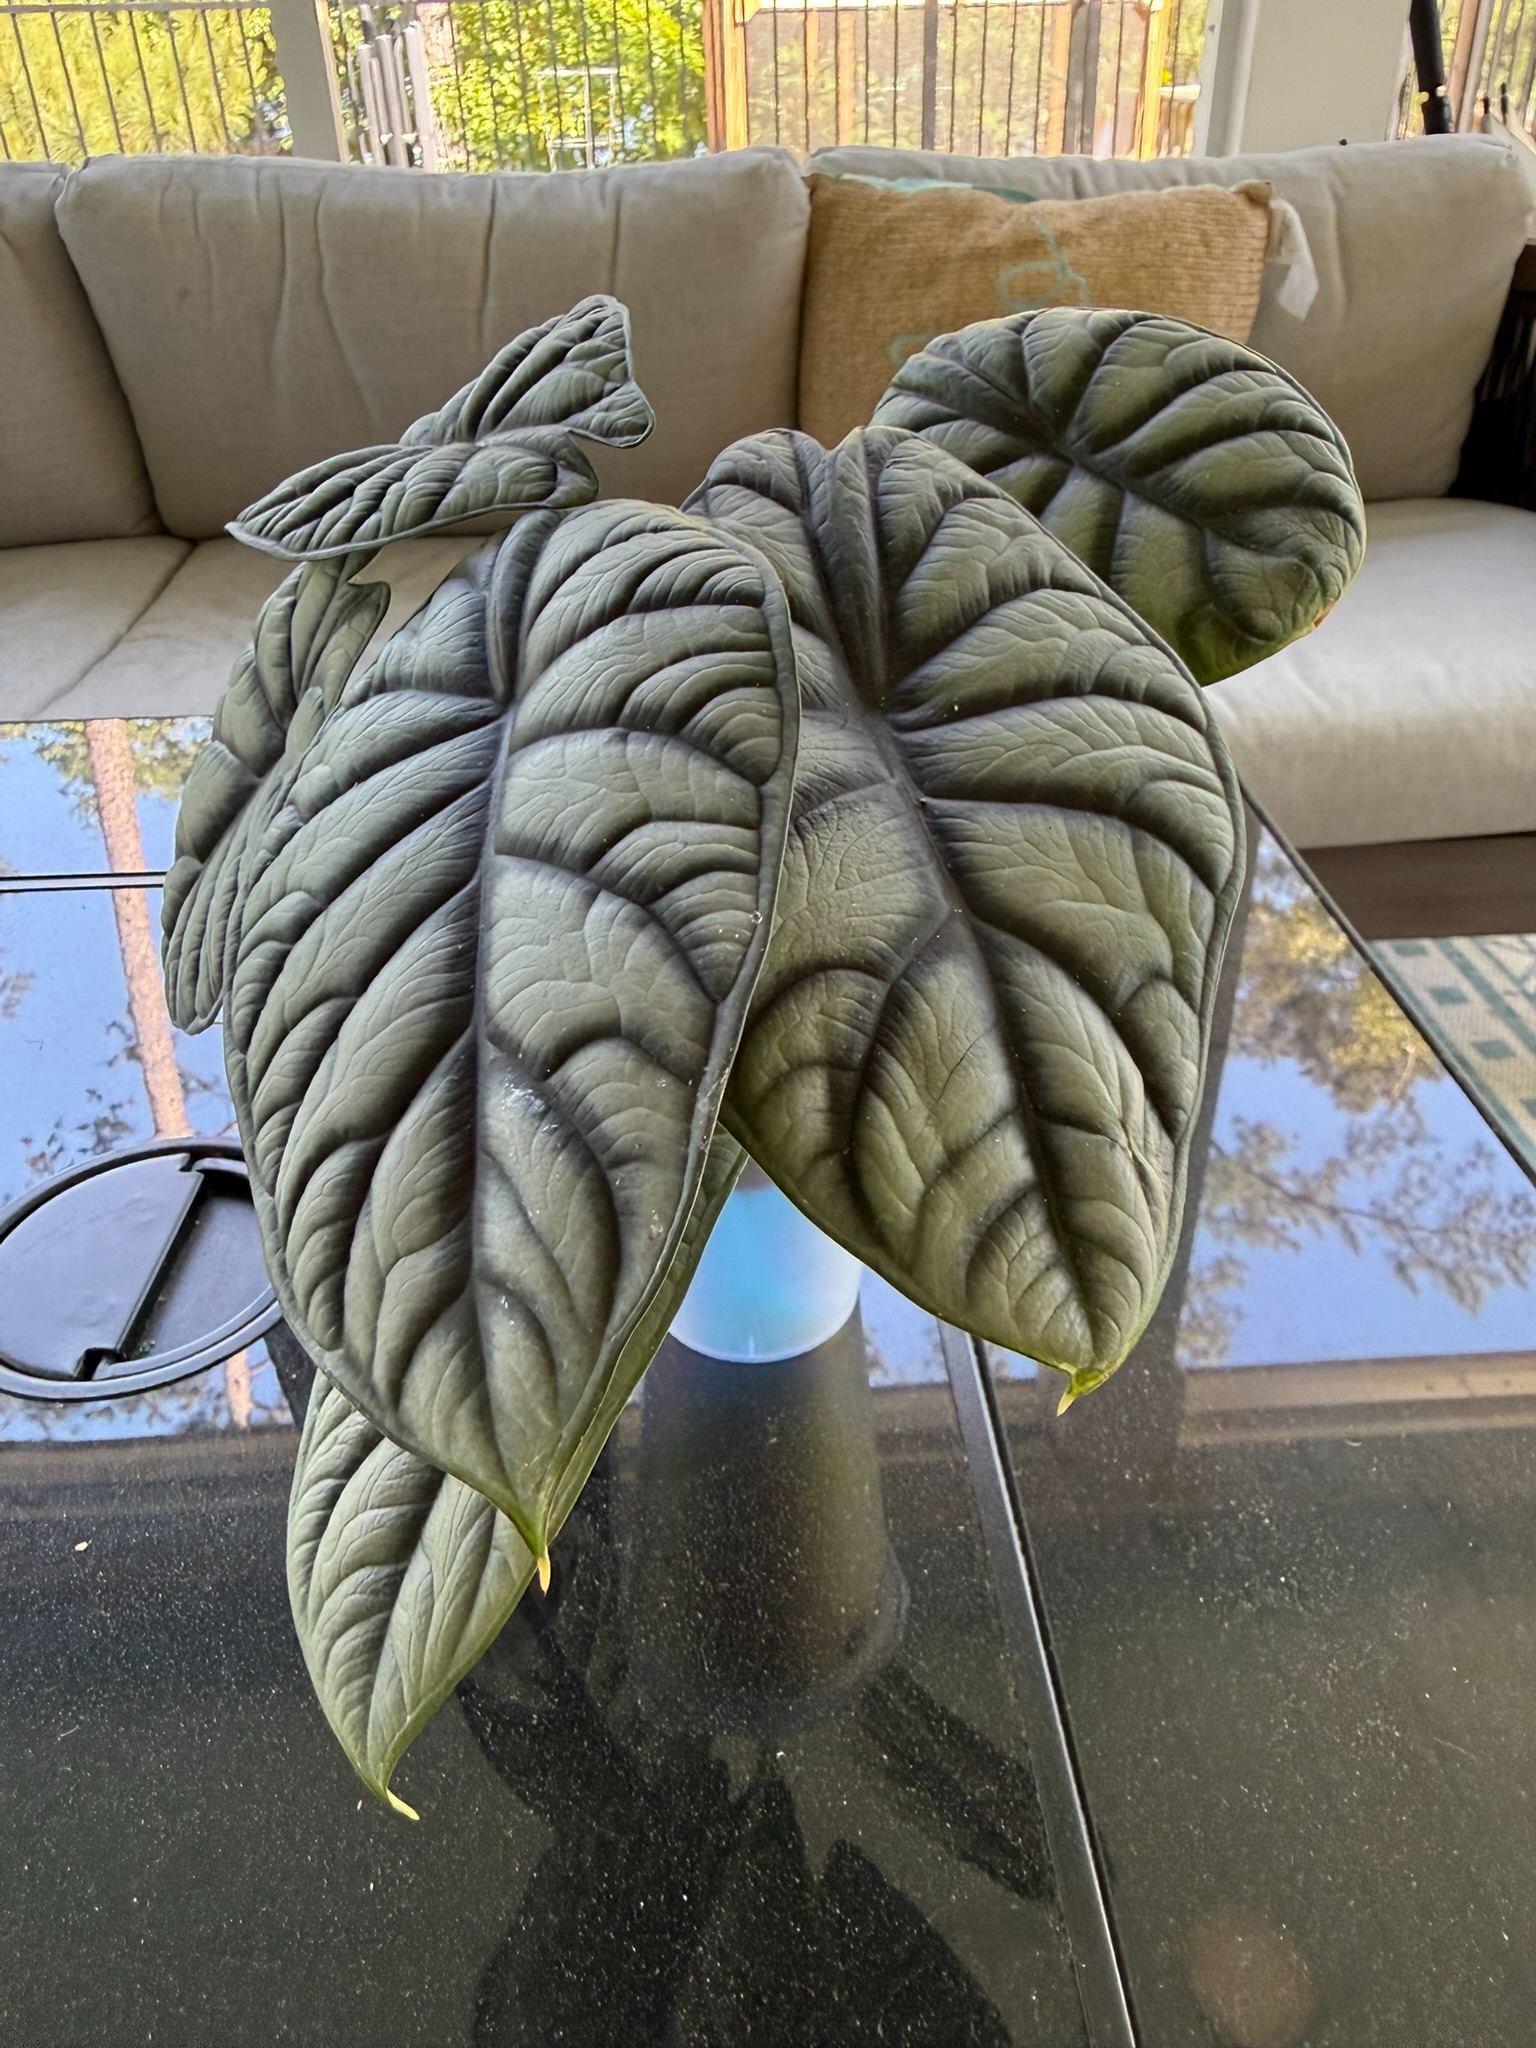
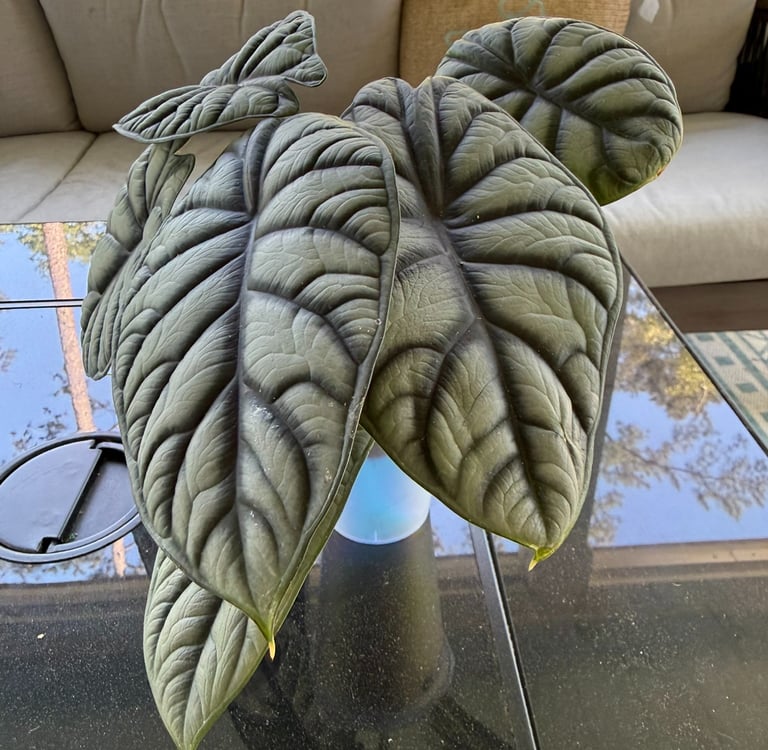
Alocasia light preferences depend on the variety. Most alocasias actually love bright light. The exception is dark-leaved varieties like the pink black velvet, which prefer to stay away from direct light.
My silver dragon falls into that category, which is why she lives on the bottom shelf of my cabinet, the shadiest spot. If the leaves on any alocasia start to curl inward, almost like they're trying to shield themselves, that's your plant telling you it's getting too much. Move it somewhere dimmer.
When your corm-grown plant is established and potted up, research the specific variety you're growing. Light preference varies enough that it's worth knowing what you have before you pick a spot for it.
The Silver Dragon Update
My silver dragon is still in my collection. Still in her dark corner. I repotted her a couple of weeks ago and she rewarded me with eight corms.
She was a $10 Walmart plant who sat on a shelf getting watered occasionally while I figured out what I was doing. Now she's part of my breeding setup and still producing.
That's the thing about alocasia corms. Once you understand them, they stop being a mystery and start being one of the most rewarding parts of the hobby. Start small, be patient with the transition, and don't pull the lid off too soon.
Contact
Get in touch for plant care advice.
Follow
hello@rootedwithmaddie.com
© 2026 Grown with love in South Carolina